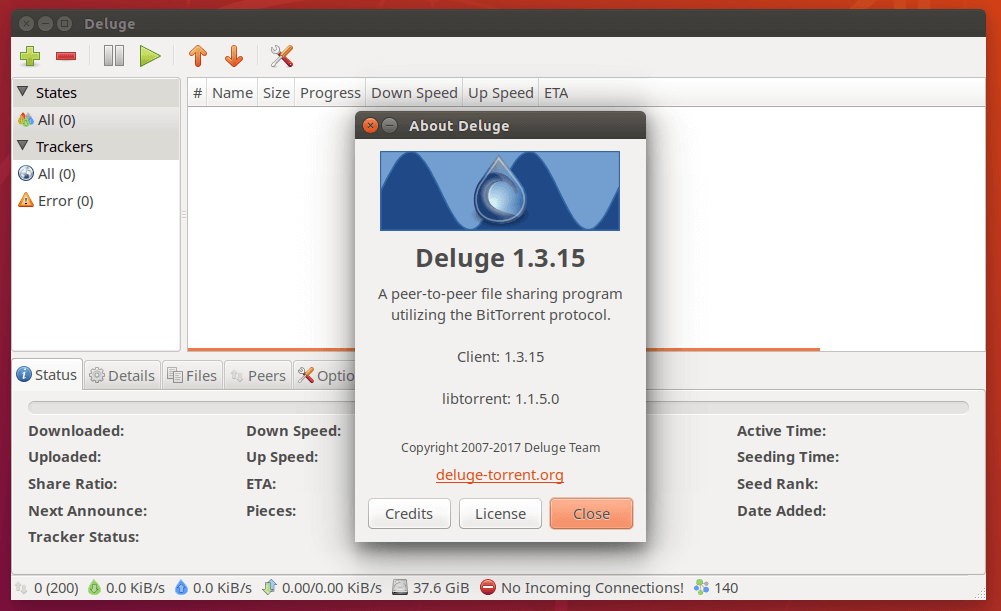
This tutorial will show you how to install Deluge on the Ubuntu server. Deluge is a free, open-source, and lightweight BitTorrent client, available for Linux, FreeBSD, macOS, and Windows. It has a rich collection of plugins that you can install to extend its functionality. For example, you can install the streaming plugin so you can stream video or audio directly from Deluge while downloading.
Install Deluge BitTorrent on Ubuntu Server
You can install the Deluge BitTorrent daemon on a server and manage the program via the Deluge web interface (You control it in a web browser). Use the following commands to install the Deluge daemon and Deluge Web interface on the Ubuntu server.
sudo apt install software-properties-common
sudo add-apt-repository ppa:deluge-team/stable
sudo apt install deluged deluge-web
Then create the deluge user and group so that the deluge can run as an unprivileged user, which will increase your server’s security.
sudo adduser --system --group delugeThe –system flag means we are creating a system user instead of a normal user. A system user doesn’t have a password and can’t log in, which is what you would want for Deluge.
A home directory /home/deluge will be created for this user. You may want to add your user account to the deluge group with the following command so that the user account has access to the files downloaded by Deluge BitTorrent. Files are downloaded to /home/deluge/Downloads by default. Note that you need to re-login for the group change to take effect.
sudo adduser your-username delugeOnce that’s done, create a systemd service file for deluge with your favorite text editor such as nano.
sudo nano /etc/systemd/system/deluged.serviceCopy and paste the following lines into the file. By default, deluged will run as a background daemon. Since we run it as a systemd service, which already runs in the background, so we add the -d (–do-not-daemonize) option to make it run in the foreground.
[Unit]
Description=Deluge Bittorrent Client Daemon
After=network-online.target

[Service]
Type=simple
User=deluge
Group=deluge
UMask=007
ExecStart=/usr/bin/deluged -d
Restart=on-failure

# Configures the time to wait before service is stopped forcefully.
TimeoutStopSec=300

[Install]
WantedBy=multi-user.target
To save a file in the Nano text editor, press Ctrl+O, then press Enter to confirm. To exit, press Ctrl+X. Now restart the deluge daemon with the following command.
sudo systemctl restart delugedYou may also want to enable auto-start when Ubuntu is booting up.
sudo systemctl enable delugedCheck Deluge status:
sudo systemctl status delugedYou can see that deluged is running and autostart is enabled. If it’s exited or isn’t running, you may need to restart it with sudo systemctl restart deluged.

Accessing Deluge WebUI
To be able to access the deluge WebUI, we also need to create a systemd service file for the deluge web.
sudo nano /etc/systemd/system/deluge-web.serviceCopy and paste the following text into the file. By default, deluge-web will run as a background daemon. Since we run it as a systemd service, which already runs in the background, so we add the -d (–do-not-daemonize) option to make a deluge-web run in the foreground.
[Unit]
Description=Deluge Bittorrent Client Web Interface
After=network-online.target

[Service]
Type=simple
User=deluge
Group=deluge
UMask=027
ExecStart=/usr/bin/deluge-web -d
Restart=on-failure

[Install]
WantedBy=multi-user.target
Save and close the file. Then start and enable deluge-web, and check its status.
sudo systemctl start deluge-web
sudo systemctl enable deluge-web
sudo systemctl status deluge-web
Once the deluge-web service is running, it listens on TCP port 8112. Now in your Web browser address bar, type
your-server-ip:8112You will be asked to enter a password, which by default is a deluge, to access the Web UI. (Your firewall might be preventing access to port 8112, so check your firewall setting if you can’t access the web UI).
Read more at https://www.linuxbabe.com/ubuntu/install-deluge-bittorrent-client-ubuntu-20-04
